
賃貸でもカフェのような無垢材の床にする方法


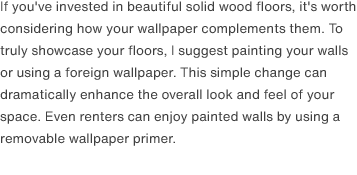
ビニールの床を、手触り感のある無垢材の床にすることで、部屋全体がカフェのような雰囲気に変わります。 インテリアを改善する方法は、プラスチックやビニールを減らし、木材や石などの自然物を増やすことが大切です。 この記事では、DIYで無垢材の床を導入する際の手順について解説します。 今回は杉の足場材を使用して、戸建てを施工する方法と、原状回復が可能な形で賃貸アパートに杉材を施工する方法を紹介します。

How to Achieve a Solid Wood Floor


Replacing your flooring with natural hardwood can dramatically transform a room. A key aspect of improving your interior is to reduce plastics and incorporate more natural materials like wood and stone. This article will guide you through a DIY process of installing a hardwood floor. Specifically, we'll cover methods for using reclaimed cedar scaffolding in both single-family homes and rental apartments.

満足度  | 5/5   |
|---|---|
難易度  | ふつう   |
予算  | ¥4,000 ~ ¥10,000 / 1畳   |
材料  | 板材, 下地用のベニヤ/ランバー材(賃貸の場合)   |
道具  | 切断工具, 電動ドライバー, 床用ビス, 紙やすり   |
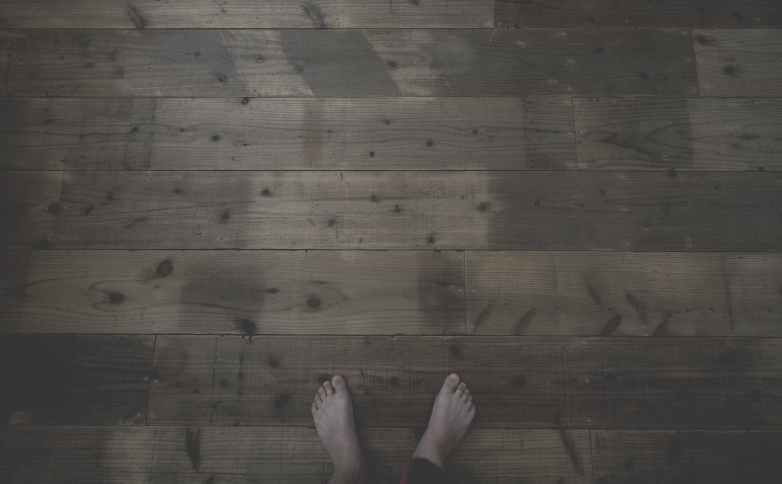

今回使用した杉の足場材(古材)は、厚さ15mmで8畳分の床材が¥80,000程度です。 まともな絨毯を購入する場合と比較すると、同じくらいの価格で材料を買うことができます。 足場材は、使い古した感が強いのでサンプルを確認するのがおすすめです。 賃貸アパートでは、ホームセンターで売っている床用の杉材をつかいました。 8畳分で¥30,000程度だったと思います。 わたしは赤身が好きなので赤い杉材を選びました。

The reclaimed cedar I used for the flooring is 15mm thick and covers 13 square meters. The total cost was around ¥80,000. Compared to buying a carpet, I could get the materials for about the same price. I recommend checking out samples of scaffolding materials. For my rental apartment, I used cedar flooring. It was around ¥30,000 for 13 square meters. I chose red cedar because I prefer the reddish hue.

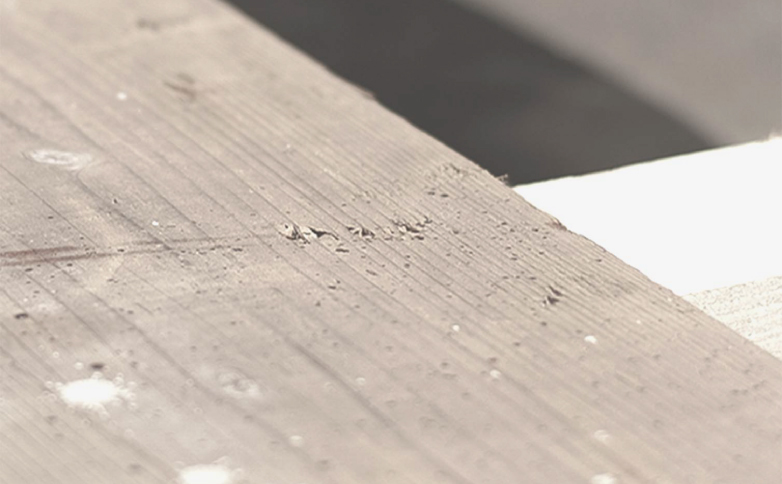

足場材の場合はささくれや尖っている部分を削って歩いても怪我をしない状態にします。 古材処理されている部分は表面だけなので、ヤスリをかけすぎると新材の部分が見えてしまうのでご注意を。 こすりたい気持ちを抑えて怪我をしない程度で済ませます。 古材は雑な部分があってもそれが良さになるので、細かいところは気にしないほうが良いです。 施工についても隙間ができても気にしない方がいいです。 DIYなので。

For scaffolding materials, please sand down any rough or pointed edges to prevent injuries. Be careful when sanding reclaimed wood surfaces as they are only treated on the surface. Excessive sanding will expose the new wood underneath. To avoid injuries, resist the urge to sand too much and only sand enough to make it safe to walk on.

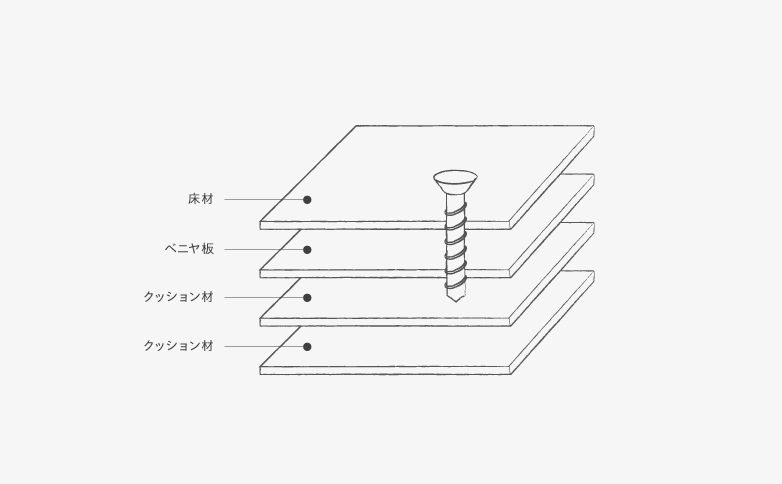

賃貸の際の施工手順としては、まず防音用の絨毯やにクッションパネルを敷き、その上にビスが固定できる程度の厚さがあるベニヤを敷きます。 その上に板材を敷いてビスで固定していきます。 そうすることで、板材を最低限固定させることができます。 ビスは床に絶対に届かない長さのものをお使いの上、必ず自己責任の上で挑戦してください。 戸建ての場合は、そのまま板材を敷いていってかまいません。

For construction in a rental property, start by laying down a soundproofing carpet or cushion panels. On top of that, place plywood thick enough to hold screws securely. Then, lay the wooden planks on top and fasten them with screws. This method ensures the wooden planks are fixed with minimal impact. If you’re in a rental property, please proceed at your own risk.

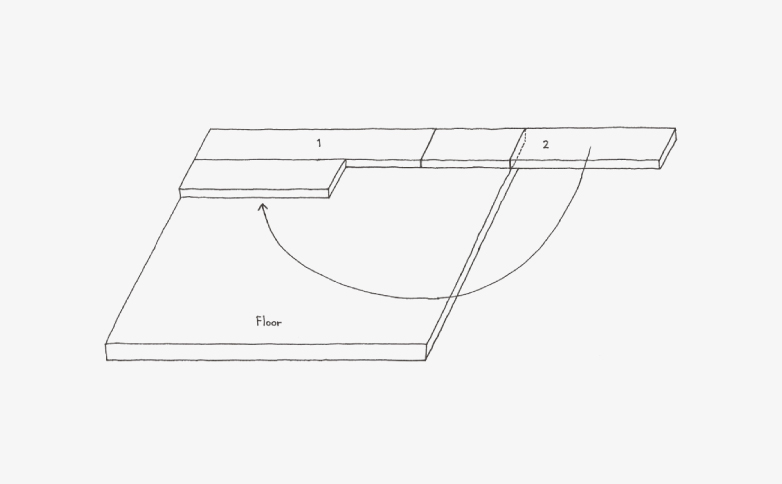

今回の戸建ての場合は直接貼り付けずに、防音のゴムシートを全体に敷いて、その上に古材を敷いて行きました。 貼り方は、上の図のような感じで部屋の端から敷いて行き、はみ出たら切っていくという方法でやります。 これだと無駄な木材はでません。 大まかには、板を切る、ビスで板材を止める、ということの繰り返しで進めていきます。 板と板の隙間は、カッターの刃が入るくらい開けておくと軋みを抑えることができます。

I've installed rubber soundproofing under the entire floor, followed by reclaimed wood. To install the wood, I started at one corner and worked our way across the room, cutting as I went to fit the space. This ensures I use all the material. It's a simple process: cutting boards, securing them with screws, and repeating. Leaving a slight gap between each board, just enough for a utility knife, helps to prevent squeaking.

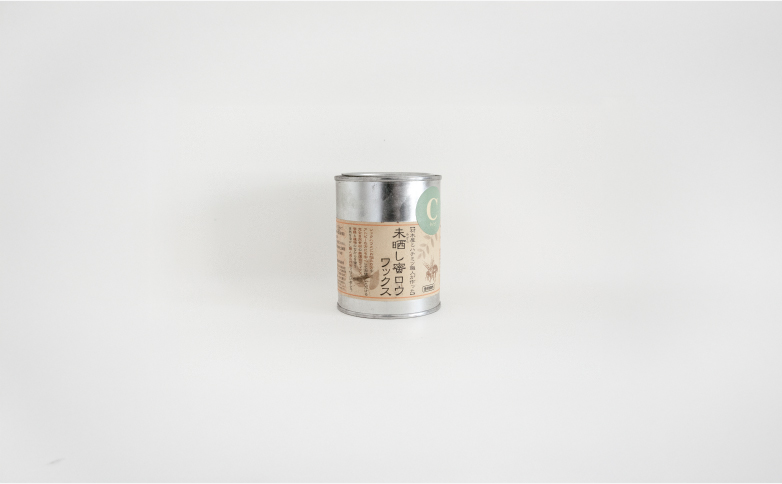

最後は、蜜蝋ワックスを塗りました。 蜜蝋ワックスはシミになりにくいようで、なにかをこぼしても今のところシミになっていないです。 段差の部分は、斜めに切った木材をつけました。 床を張るより大変でした。 角材を縦に斜めに切るって丸ノコでは結構難しいというか怖いんですよね。 きれいにつくれてよかったです。 古材はすごく乾燥しているためワトコオイルなどを塗る場合はかなり濃くなるので、テストしてから塗装したほうが良いです。

I finished by applying beeswax. It seems to be really stain-resistant, as I've spilled things on it without any stains so far. For the uneven areas, I added pieces of wood cut on a diagonal. It was definitely more challenging than just laying down the flooring. Cutting those vertical angles with a circular saw was quite tricky and a bit scary, to be honest.

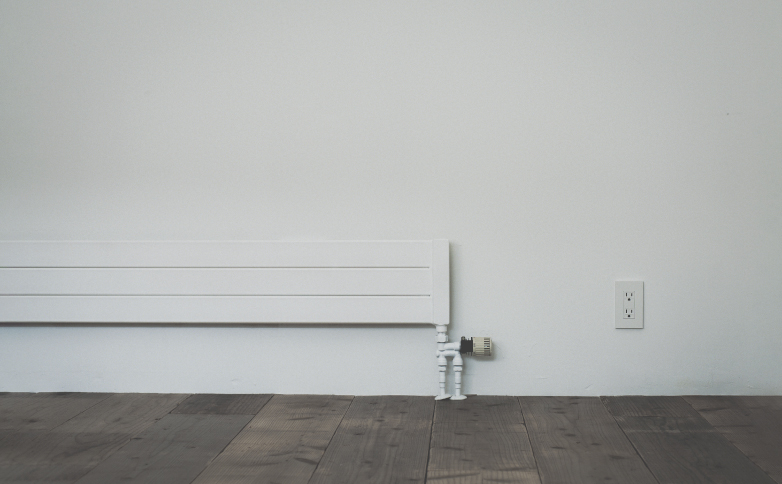

無垢材の床を引き立てるには、壁紙にも注意が必要です。 国産の壁紙はビニールですので、木と釣り合わず、せっかくの無垢材の床も台無しになります。 もし床を無垢材に変えたなら、ペンキで塗るか、海外の壁紙に変えると空間が変わるので、ビニールの壁紙を変えることをオススメします。 賃貸でもペンキで塗る方法があります。 剥がせる壁紙のノリをつかって壁一面に紙を貼ってから塗ることでペンキ塗りの壁にすることが可能です。

If you've invested in beautiful solid wood floors, it's worth considering how your wallpaper complements them. To truly showcase your floors, I suggest painting your walls or using a foreign wallpaper. This simple change can dramatically enhance the overall look and feel of your space. Even renters can enjoy painted walls by using a removable wallpaper primer.
