
塗装を成功させる下地作り


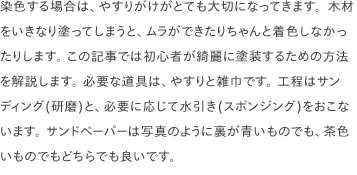
染色する場合は、やすりがけがとても大切になってきます。 木材をいきなり塗ってしまうと、ムラができたりちゃんと着色しなかったりします。 この記事では初心者が綺麗に塗装するための方法を解説します。 必要な道具は、やすりと雑巾です。 工程はサンディング(研磨)と、必要に応じて水引き(スポンジング)をおこないます。 サンドペーパーは写真のように裏が青いものでも、茶色いものでもどちらでも良いです。

Preparing The Base For Wood Staining


Sanding is a crucial step before painting. If you apply paint directly without sanding, you might end up with an uneven finish or poor color coverage. In this article, we'll guide you through the process of achieving a beautiful finish as a beginner. All you'll need is sandpaper and a rag. The steps involved are sanding and, if necessary, sponging. For sandpaper, you can use either the blue or brown-backed type, as shown in the picture.


やすりがけのやりかた
1. 木目に沿って60~80番目程度でやすりをかけます
2. 木目に沿って120番目程度でやすりをかけます
3. 木目に沿って180~240番目でやすりをかけます


HOW TO SAND WOOD
1. Sand along the grain with 60-80 grit sandpaper.
2. Sand along the grain with 120 grit sandpaper.
3. Sand along the grain with 180-240 grit sandpaper.


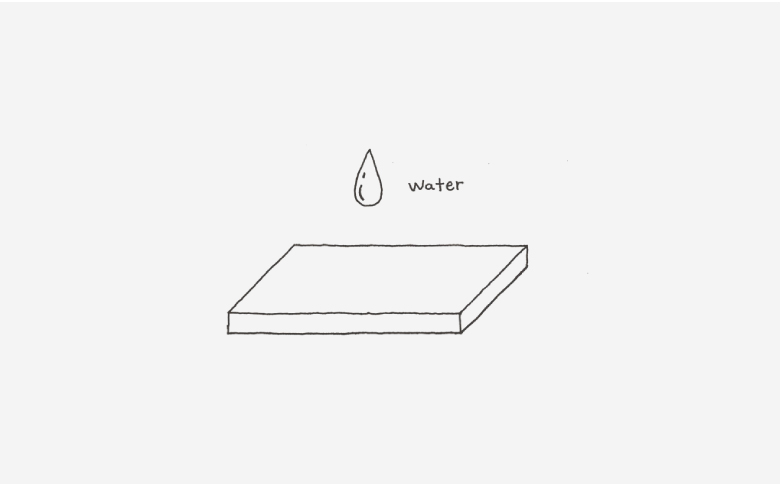
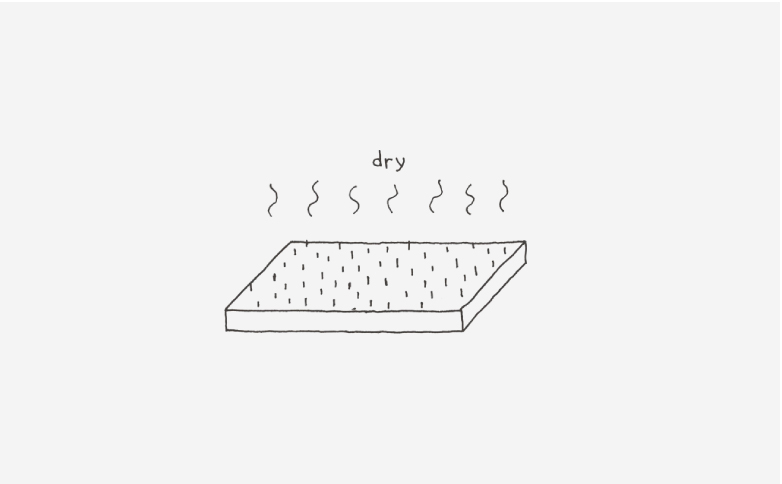
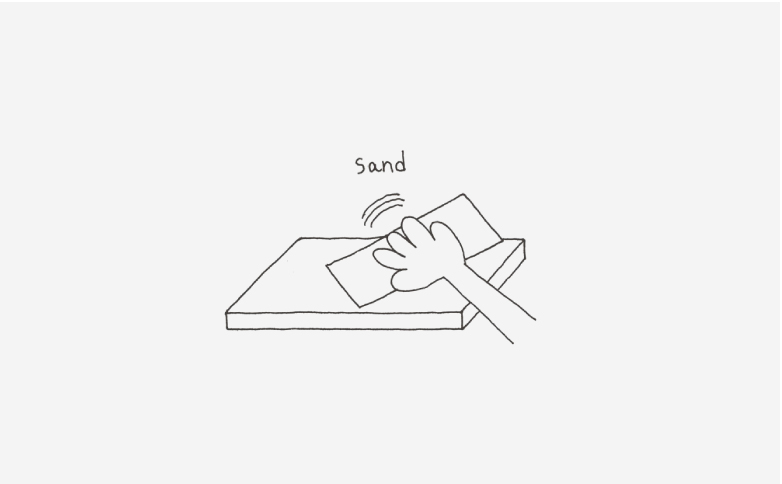
ペンキで塗る場合は、毛羽立ちを抑えるためにスポンジングをおこなったほうが良いです。 スポンジングを行わなかった場合、ペンキで塗った後に木目が毛羽だってしまい、ザラザラになってしまいます。 スポンジングは、上の図のように、水分を含ませてから乾かした後に、やすりをかけます。 水分を含ませた後、毛羽立つので、その毛羽立ちを除去することで仕上がりを良くします。

If you're planning to paint, I recommend using a sponging technique to prevent fuzzing. Without sponging, the wood grain may fuzz after painting, resulting in a rough finish. Sponging involves wetting the wood, letting it dry, and then sanding it. The wetting process causes the wood to fuzz, which is then removed by sanding for a smoother finish.


下地のつくりかたは以上です。 とくにステインで塗る場合は、大切な工程です。 必要に応じて電動サンダーを購入するのもおすすめです。 併用するとかなり楽になります。 また下の写真のようなやすりをくるんで使うホルダーを使うと楽になります。 取り付けるタイプも売っています。 やすりがけは、よく刺さって怪我をするのでそこだけ注意してください。

That's all for prepping the primer. This part's super important, especially if you're staining. I'd definitely get an electric sander if you can. It'll make your life a lot easier. Also, a sanding block is a game-changer. You can buy ones that hold the sandpaper in place. Just watch out for those sandpaper splinters, they can hurt!
