
収納家具 無垢材プリンターキャビネット


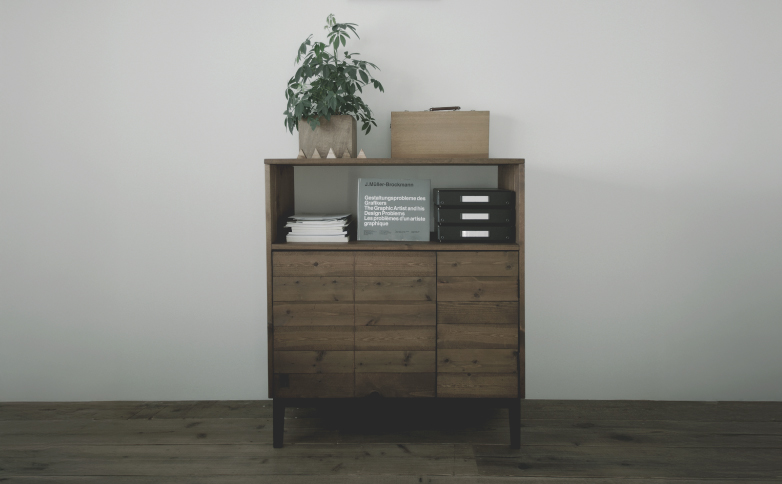
木や石、植物などが中心になっている空間にあるプリンターは、部屋を壊す原因になることがあります。 プリンターを布で隠したり、棚の中に隠したりするだけで空間が改善されるのでお試しください。 布で隠すのもかんたんで良いですが、今回はプリンターを収納するキャビネットをつくることにしました。 見ると難しそうですが、何も知らないところから始めて2つ目のDIY家具になります。 この記事では設計図付きでつくりかたを解説します。


Solid Wood Printer Cabinet


A printer in a space centered around elements like wood, stone, and plants can sometimes disrupt the harmony of the room. Simply covering the printer with a cloth or hiding it inside a shelf can significantly improve the aesthetics. While covering it with a cloth is a simple and effective solution, this time, I decided to create a cabinet specifically for storing the printer. I'll explain how to make it step by step.

満足度  | 5/5   |
|---|---|
難易度  | 少し難しい   |
予算  | ¥15,000~   |
材料  | SPF材や杉の19×89, 蝶番   |
道具  | 電動ドライバー, 木工用ボンド, 紙やすり, コーナークランプ   |
設計図  | 設計図1  ,  |
脚以外はすべてSPFの19×89を使います。 1820mmで¥300ほどの安価な木材です。 これをダボはぎや、いもはぎで1枚の板にして棚をつくっていきます。 このキャビネットの構造だと、いもはぎ(ボンドのみでの接着)でもボンドで正しく接着していれば重いものを置かない限り大丈夫だと思いますが、力がかかる部分は木ダボで接着するようにしたほうが良いです。 ダボが難しい場合は、ボンドでしっかり接着しましょう。

Except for the legs, everything is made using SPF wood measuring 19×89mm. The pieces are joined together using dowels or edge gluing to create single panels for the shelves. With this cabinet's structure, edge gluing should hold up fine as long as you don't place heavy items on it, provided the glue is applied correctly. However, for parts subject to stress, it's better to use wooden dowels for added strength.

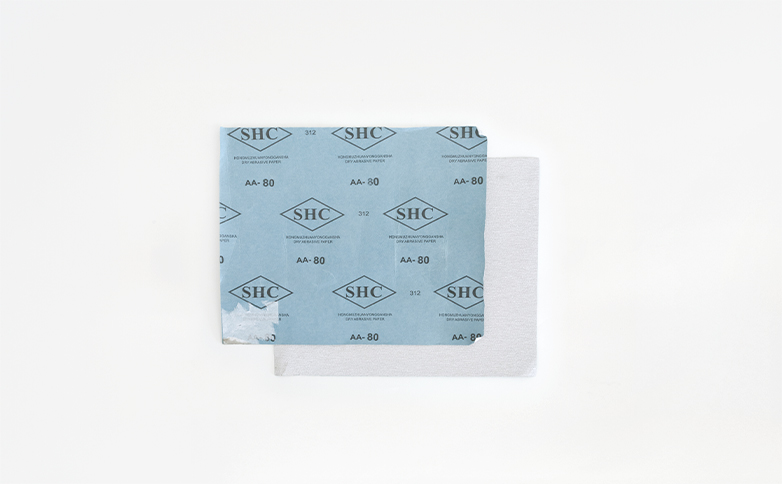

木材を買ってきたらサンディング(やすりがけ)をします。 木目に沿って全体をしっかりかけます。 80とか120番からかけて、最後は180番目くらいで良いです。 ここの工程は地味ですが重要です。 やすりのかけ方がそのまま塗装の染まり方になるので、結構大変ですが根気よくやりましょう。 手触り感やアンティーク感を残したい場合は、180番までで良いですが、綺麗な感じにしたい場合は240番までやったり調整してください。


When you bring home your wood, the first step is sanding. Sand along the grain, thoroughly covering the entire surface. Start with grit 80 or 120, and finish with grit 180. This step may seem tedious, but it’s crucial. The way you sand directly affects how the paint or stain will absorb, so take your time and be patient. If you want to keep a natural texture, grit 180 is sufficient.

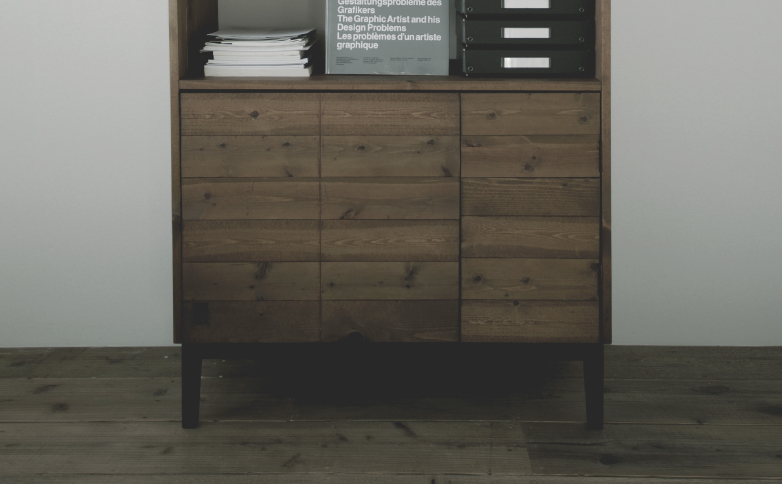

次に、切り出した板をはいでいきます。 それぞれの合わせた1枚板をつくってから扉以外の部分を接着します。 接着はビスか、ダボとボンドで行います。 ビスで行う場合は、少し深めにビスの頭をいれて、その穴に木屑とボンドを混ぜたものをつめると、穴がわからなくなるのでおすすめです。 注意することは、ボンドがはみでていると、オイルステインやオイルなどの染料がはじいてしまうので、はみ出たらすぐに拭いてください。


Next, attach the cut boards together. First, assemble them into single panels and then glue all parts except the doors. For adhesion, you can use either screws or a combination of dowels and glue. If using screws, it’s recommended to sink the screw heads slightly deeper into the wood and fill the holes with a mixture of wood shavings and glue to make the holes less noticeable.

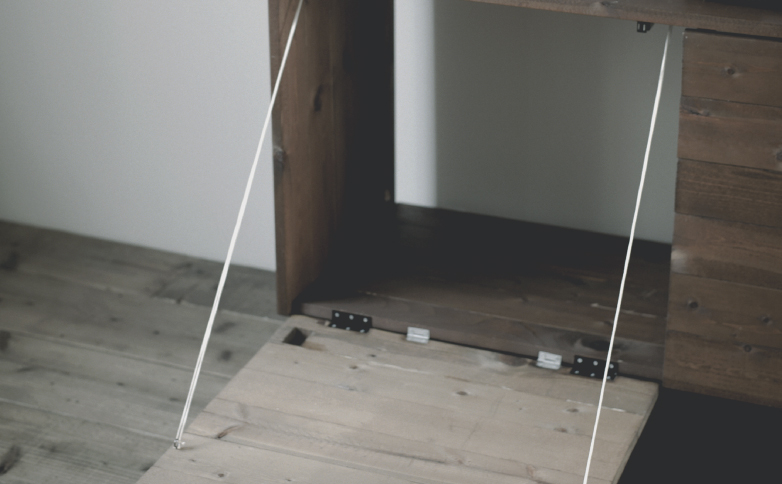

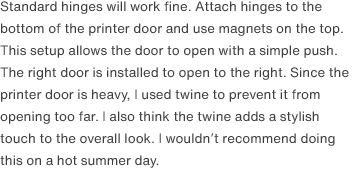
蝶番は通常のタイプでOKです。 プリンターの扉は下側に蝶番をつけて、上にマグネットをつけます。 これで押すと開くようになります。 右の扉は右に開くようにつけます。 プリンター側の扉が重いので、タコ糸をつかって開きすぎないように細工をしました。 見た目も紐があったほうが格好良いと思います。 蝶番を一人でつけるのは、意外に大変な作業なので、誰かに手伝ってもらうのが良いです。 夏暑い日にやるのはおすすめできません。


Standard hinges will work fine. Attach hinges to the bottom of the printer door and use magnets on the top. This setup allows the door to open with a simple push. The right door is installed to open to the right. Since the printer door is heavy, I used twine to prevent it from opening too far. I also think the twine adds a stylish touch to the overall look. I wouldn’t recommend doing this on a hot summer day.

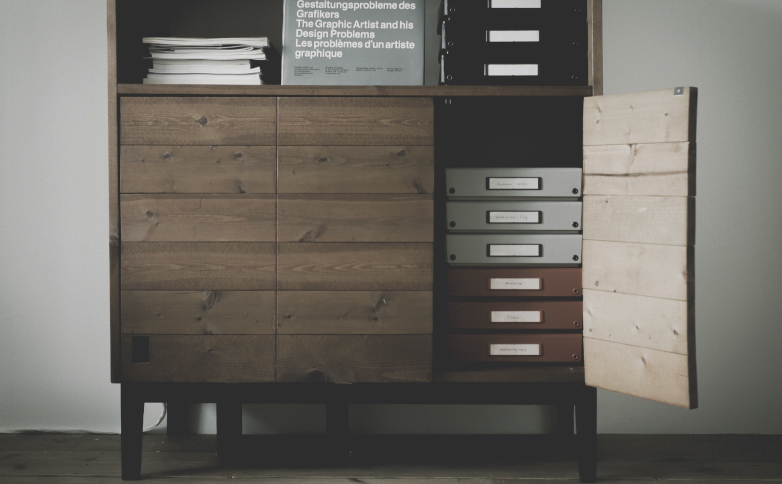

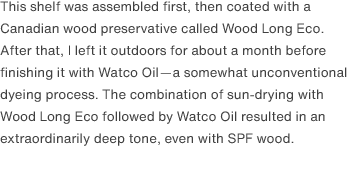
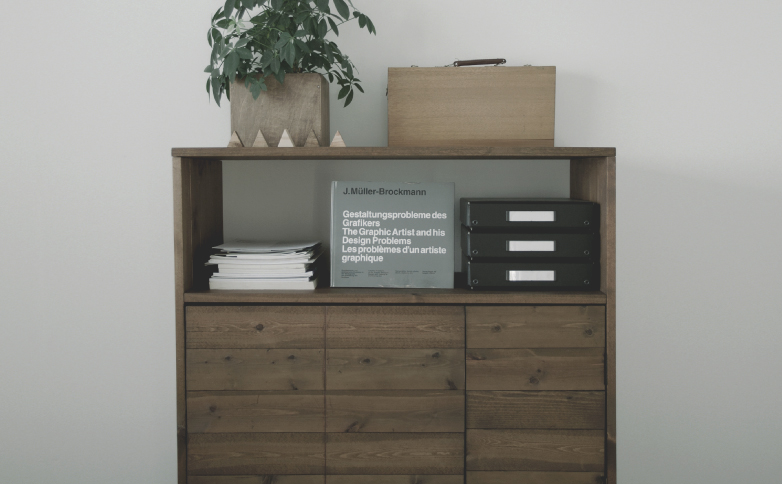
この棚は一度組み立ててから、ウッドロングエコというカナダの防腐剤を全体に塗って1ヶ月ほど屋外に放置しワトコオイルでオイルフィニッシュするというおかしなことをやって染めました。 ウッドロングエコで日干ししてからワトコオイルを塗るとSPF材でも尋常じゃないくらい濃くなりました。 やはり無垢材の家具はすごくかっこ良い! もし作業スペースがありましたら設計図を参考にしてつくってみてください。


This shelf was assembled first, then coated with a Canadian wood preservative called Wood Long Eco. After that, I left it outdoors for about a month before finishing it with Watco Oil—a somewhat unconventional dyeing process. The combination of sun-drying with Wood Long Eco followed by Watco Oil resulted in an extraordinarily deep tone, even with SPF wood.
