
壁をペンキで塗ってカフェ風に


ペンキで塗った壁は手触り感のある質感になり、家具以上に部屋の雰囲気を変えることができます。 僕は賃貸でもペンキで塗りました。 賃貸でも現状復帰を見越してペンキで塗ることは可能です。 「壁を塗るなんて無理だ」と思っている人も"No Future"と叫びながら既成概念をぶち壊してみましょう。 時には"Should I Stay or Should I Go"と迷う時もあるかもしれませんが、大丈夫。 この記事を読めばDIYできるはず。

How To Paint A Wall


Painted walls have a textured, tactile finish that can transform the atmosphere of a room even more than furniture. If you're thinking, "Painting walls? Impossible," break free from conventional thinking and shout "No Future!" at the top of your lungs. There may be moments when you wonder, "Should I Stay or Should I Go," but don't worry. By the time you finish reading this article, you'll be ready to dive into DIY.

満足度  | 5/5   |
|---|---|
難易度  | かんたんだけど時間かかる   |
予算  | ¥12,000~   |
材料  | ペンキ, パテ, 剥がせるノリ(賃貸), 白いロール紙(賃貸)   |
道具  | 脚立, ローラー, ローラーバケット, 刷毛, 養生テープ, マスカー   |


持ち家をペンキで塗る工程
1. コンセントカバーをはずす
2. 壁紙をはがす
3. マスカーで床全面を養生する
4. 石膏ボードの隙間をパテで埋める
5. 隅っこから塗る
6. 天井を塗る

Steps for Painting the Walls:
1. Remove the outlet covers.
2. Peel off the wallpaper.
3. Protect the entire floor with masking tape.
4. Fill the gaps in the drywall with filler putty.
5. Start painting from the corners.
6. Paint the ceiling.

1. コンセントカバーをはずします。 コンセントカバーの上や下に小さい穴が空いている部分があるので、そこにマイナスドライバーなどをつっこんではずします。 ベースがでてくるので、ビスをドライバーではずし、コンセントだけにします。
2. 壁紙をはがします。 剥がし残りがなければ、綺麗に剥がれなくてもOKです。 壁紙を剥がすと、石膏ボードが登場します。 この石膏ボードにペンキを塗っていきます。

1. Remove the outlet cover. Insert a flathead screwdriver into the small hole on the outlet cover to detach it. Unscrew the screws and leave only the outlet exposed.
2. Peel off the wallpaper. It doesn’t need to come off perfectly as long as there are no remnants left behind. Once the wallpaper is removed, the drywall will be revealed.

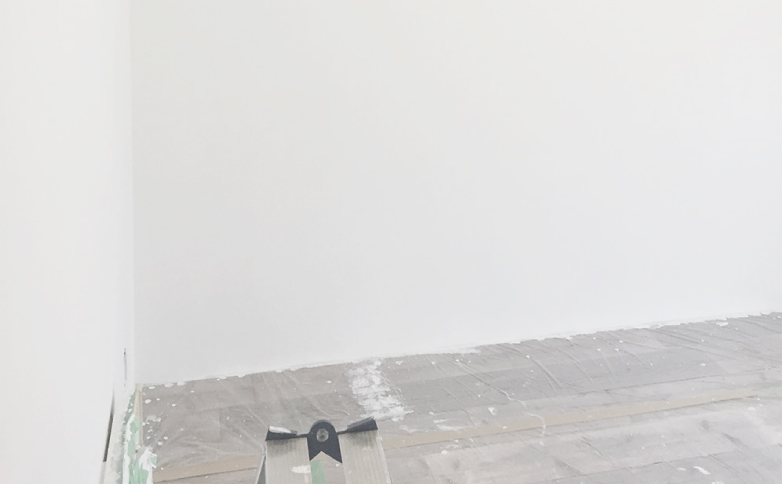

3. マスカーで床全面を養生します。 床にペンキが落ちないように、布テープ付きの標準的なマスカーで、床全面を養生します。 天井を塗るときに飛び散りますので、全面に敷きましょう。 コンセント部分も、養生テープでつつんでください。
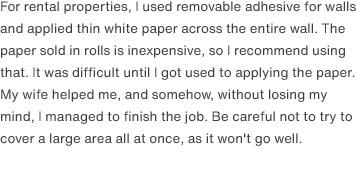
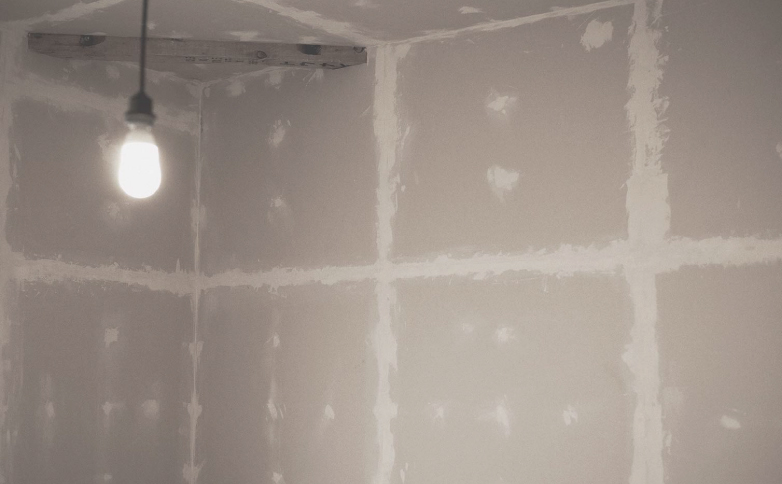
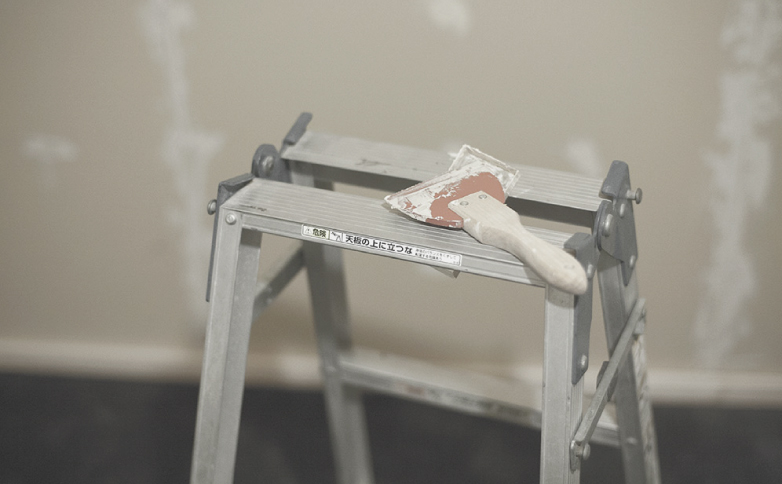
4. 石膏ボードの隙間や穴をパテで埋めていきます。 複数の壁をパテで埋める場合は、粉末で売っているパテのほうが安いです。 乾くと縮むので何度か繰り返して塗ります。

3. Use masking tape to protect the entire floor. When painting the ceiling, paint may splatter, so cover the entire floor to prevent paint from dropping. Be sure to wrap the outlet areas with masking tape as well.
4. Fill the gaps and holes in the plasterboard with putty. Since the putty shrinks as it dries, you will need to apply it several times. Putty sold in powder form is cheaper.
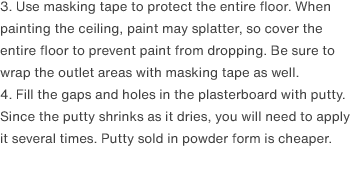


5. 白ペンキは、ホルムアルデヒドなどが使用されていない室内用の塗料ノボクリーンという塗料をつかいました。 ノボクリーンは一斗缶での販売になり、容量は8畳の天井と壁を塗っても十分余る量で価格も安いです。 あとローラーをしごけるローラーバケットも必要なので買いましょう。 シーラー(下塗り塗料)は必要ありません。 ペンキは基本的に薄めずにつかいます。

5. I used a paint called Novoclean, which is an indoor paint that does not contain formaldehyde or other harmful substances. Novoclean is sold in large cans, and the amount is more than enough to cover the ceiling and walls of an 8-tatami room, with an affordable price. You will also need to buy a roller bucket to load the roller. A sealer is not necessary.


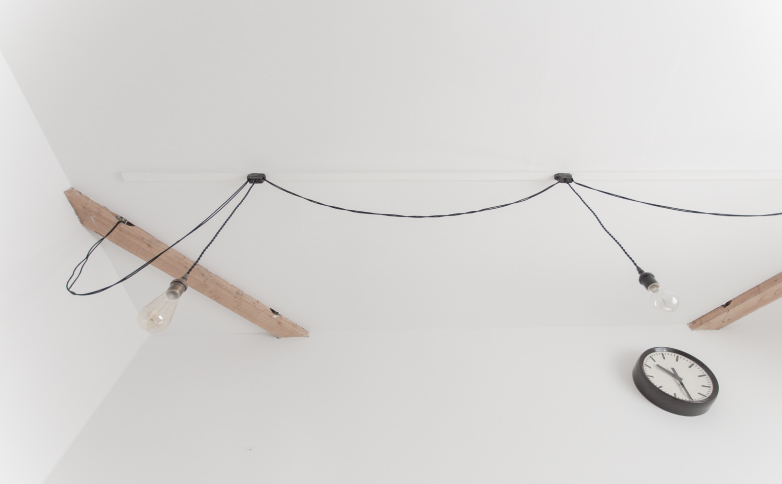
6. 最初に刷毛で、部屋の角を塗っていきます。 1回目が塗り終わった時は、ムラがでるので不安になりますが、2回3回と塗っていくことで完全にムラはなくなります。 隅っこを塗ったら、壁を塗ります。 壁を塗っていたら隅っこが乾くので、隅っこを塗ります。 7. 先に天井を塗ってもいいと思いますが、天井は大変なので、壁で慣れてから塗るのがおすすめです。 長いローラーをつかって塗っていきます。 暑い日にやるのは避けた方がいいです。

6. Start by painting the corners of the room with a brush. When you finish the first coat, you'll notice some unevenness, but don't worry—applying a second and third coat will completely eliminate the streaks. Once the corners are done, proceed to paint the walls.
7. Painting the ceiling can be difficult, so it's recommended to get comfortable with the walls first. Use a long roller to apply the paint.

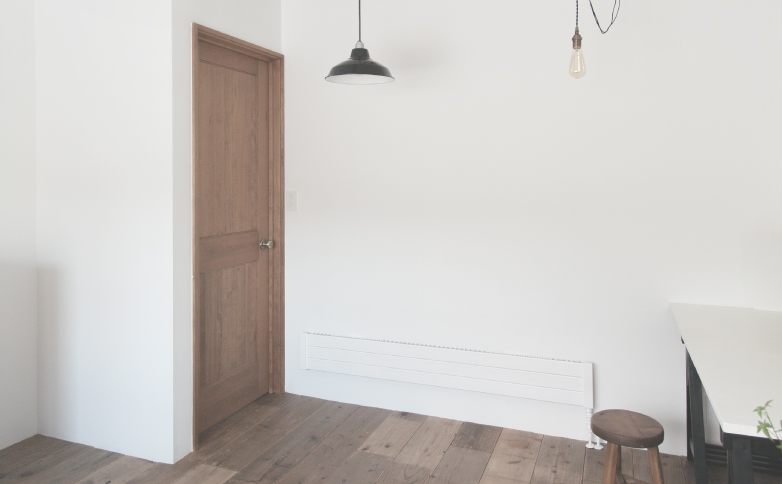

賃貸の場合は、壁用の剥がせるノリをつかって、壁一面に薄い白い紙を貼ります。 紙はロールで売っている紙が安いのでそれが良いと思います。 紙を貼るのが慣れるまで大変でした。 妻に手伝ってもらい発狂せずになんとか完遂できました。 用紙は欲張って大きな面積を一度にやろうとすると、うまくいかないので気をつけてください。 少しづつ少しづつ貼っていくのが良いです。 僕はやってよかったと思いました。

For rental properties, I used removable adhesive for walls and applied thin white paper across the entire wall. The paper sold in rolls is inexpensive, so I recommend using that. It was difficult until I got used to applying the paper. My wife helped me, and somehow, without losing my mind, I managed to finish the job. Be careful not to try to cover a large area all at once, as it won't go well.
