
カフェ/アトリエ風 机の脚


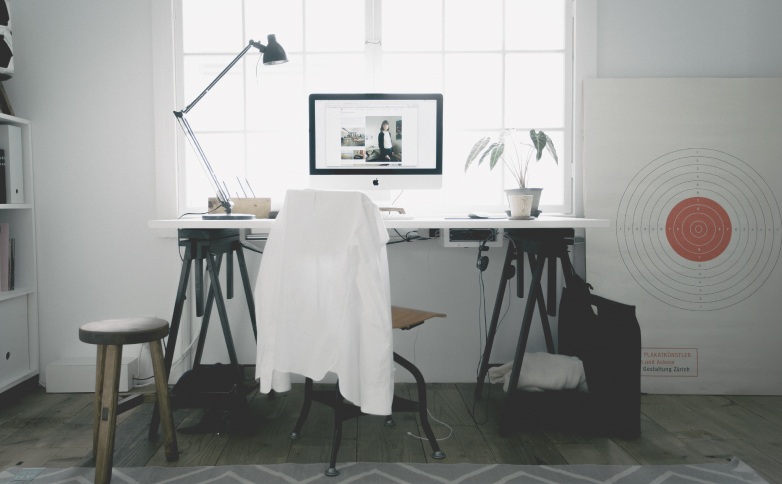
アンティーク風の机の脚をDIYしました。 机の高さを自分の身長に合わせることで、腰痛や肩こりを緩和することができます。 販売されている机は、海外の高さに合わせたものも多いので、自分とあっていないことがあります。 自分の机の高さはこちらのサイトで調べることができます。 今回つくった脚はできるだけ椅子(Toledo Chair)に合うようにしました。 僕がはじめてつくった家具になります。 最初から難しいものをやってしまいました。

Atelier-Style Table Legs


I DIY-ed antique-style desk legs! By customizing the height of your desk to match your own height, you can help alleviate back pain and shoulder tension. Many desks sold on the market are designed to fit overseas standards, which might not suit your body proportions. You can check the ideal desk height for yourself using this site. For this project, I made the desk legs to match my Toledo Chair as closely as possible.

満足度  | 5/5   |
|---|---|
難易度  | 難しい   |
予算  | ¥3,000~ / 1set   |
材料  | SPFや杉材, 松   |
道具  | ジグソー/丸ノコ, 電動ドライバー, 木工用ボンド, やすり, (ダボ用ビット), 電動サンダー   |
設計図  | 設計図1  ,  |
この脚は、はじめてつくった家具ですが、 設計図さえあればずれたり失敗しても、なんとか形にはできたりするだろうということで設計図を書きました。 道具の使い方は慣れの問題ですし、現代はなんでも道具が揃ってますので、作る上で大切なのは設計図だと思い設計図はちゃんとつくりました。 手書きでも良いですが、Adobe Illustratorが慣れているのでそれでつくりました。 自分でわかればなんでも良いと思います。

This piece is the first piece of furniture I ever made. I started by creating a blueprint because I figured that, even if there were mistakes or misalignments, I could still manage to put it together as long as I had a solid plan. Using tools is just a matter of practice, and nowadays, we have access to all sorts of tools. That’s why I believe having a proper blueprint is the most important part of the process.

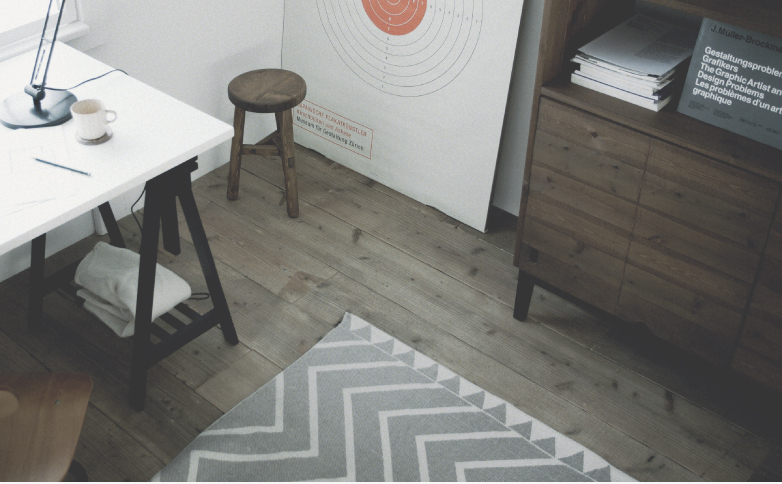

家具をつくるときの順番としては、(1)部屋全体のイメージを膨らませる (2)イメージに近い物や写真を探す (3)イメージを固める (4)スケッチする (5)設計図を書く、というような流れで戻ったり進んだりしながらやっています。 この工程や考え方については、道具の使い方よりもずっと大切かもしれません。 僕は仕事で似たようなことをやっているので、それに近い方法でDIY家具もデザインを考えています。

When making furniture, I usually follow these steps: (1) expand on the overall image of the room, (2) look for items or photos that match the envisioned style, (3) refine the idea, (4) create sketches, (5) draft a blueprint. It’s a process of moving back and forth, refining as I go. This approach and way of thinking might be even more important than knowing how to use tools.


設計図を書く上で、木材の規格を知っておくのはとても重要だとわかりました。 今回つかった木材は、木材の規格的に、松とSPFを組み合わせてつくることにしました。 "木材のサイズ規格・価格表"をつくったので参考にしてみてください。 僕は作る時間よりも、ホームセンターに何回も行って規格を把握するのに時間がかかりました。 どのサイズが置いてくれているかはまちまちですので、近いお店へ確認しにいってみてください。

I realized that it's very important to know the standard sizes of wood when creating a design plan. For this project, I decided to combine pine and SPF wood based on their standard specifications. I’ve created a “Wood Size and Price Chart” for reference, so feel free to take a look. I spent more time going to the home center multiple times to familiarize myself with the specifications than actually building the project.

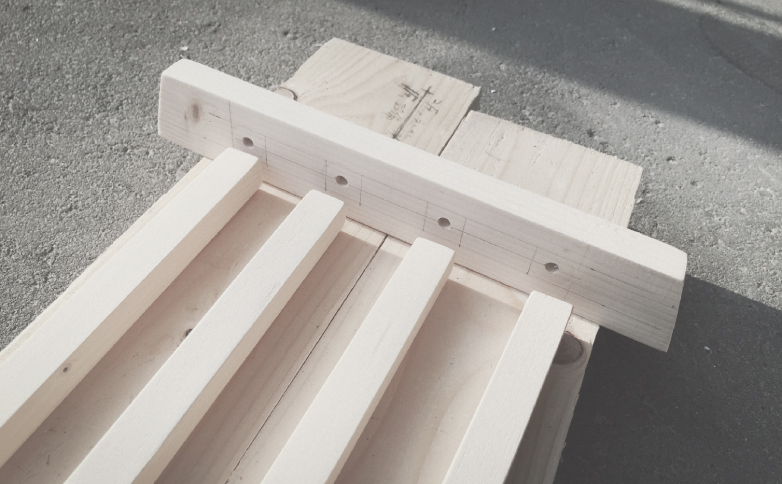
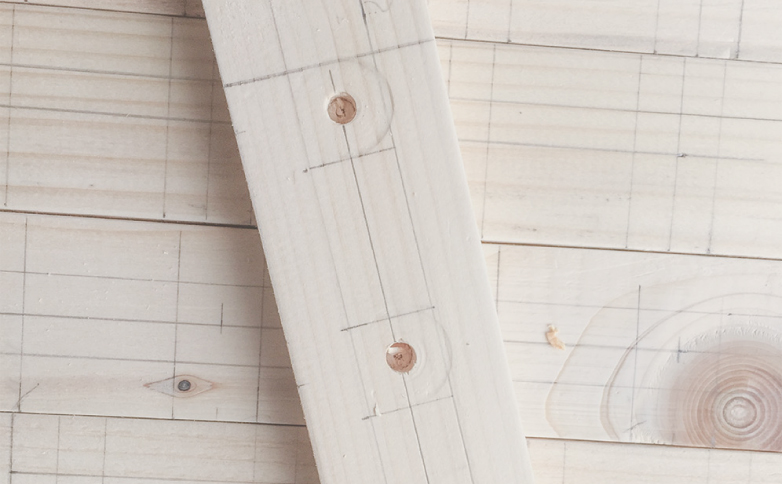
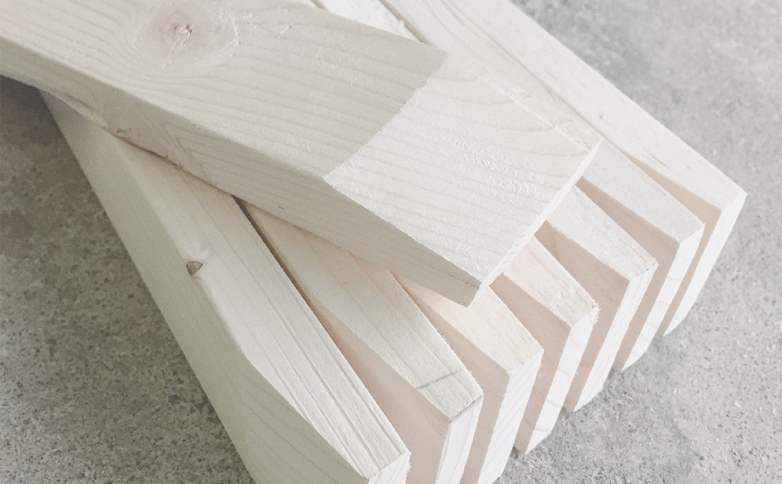
下の支えの部分は、ダボでおこないました。 こうすると前面にビスが見えなくなるのですが、ダボは大変なので深めにビスをいれてから、木屑とボンドを混ぜたものをビス穴に詰めても良いです。 というかそうしましょう。 このデザインが複雑に感じるのは、斜めに切る部分があるからです。 この角度はなにかしらのソフトウェアで計算しておくか、紙で書いたものを型紙にして、印をつけて切っていく形になると思います。

The support at the bottom was done using dowels. This method hides the screws from the front, but doweling can be tricky, so it's fine to first insert screws deeply and then fill the screw holes with a mixture of wood dust and glue. In fact, that's probably the best approach. The reason this design might feel complex is due to the angled cuts.

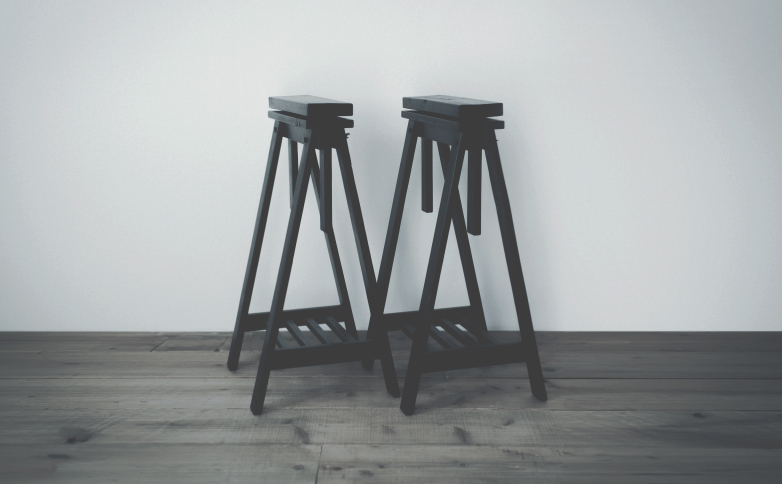

斜めの部分を切るためのラインを引くことができる設計図をつくることができれば、この脚は完成したも同じです。 4本足なので、つくるのが大変そうに見えますが、ずれていても削ればいいだけなので、ずれても気にしないで良いです。 ”Never Mind the Bollocks (勝手にしやがれ)”の精神でいきましょう。 ただ、手で削るのは少しの厚さでも大変なので、電動サンダーがあると良いです。 僕は削りまくりました。

If you can create a blueprint to draw the lines for the angled cuts, this leg is almost finished. Since it's a four-legged piece, it might seem difficult to make, but if it's slightly off, you can simply sand it down, so don't worry about the misalignment. Let's approach it with the spirit of "Never Mind the Bollocks". However, sanding by hand can be tough even for a small thickness, so it would be helpful to have a power sander.


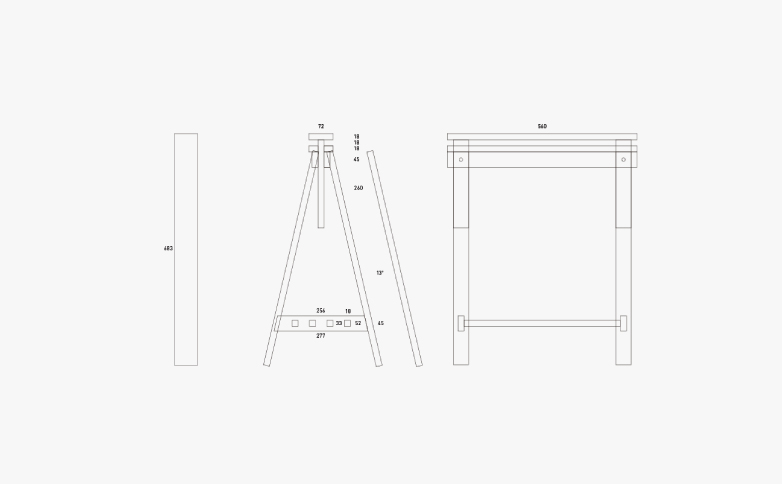
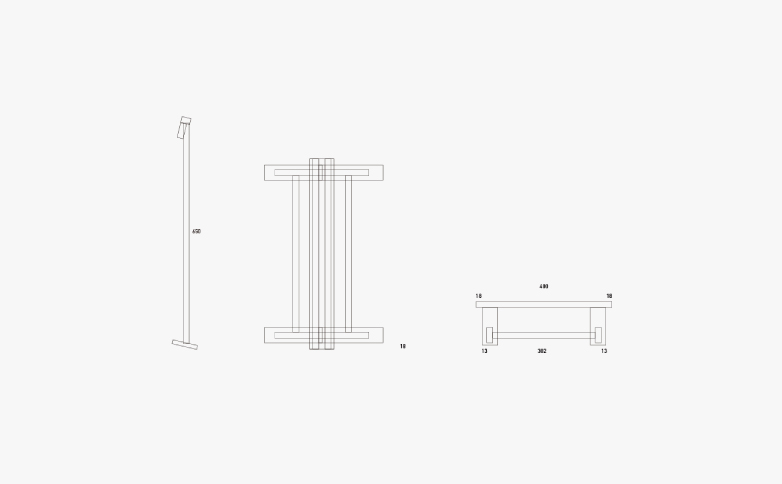
この脚の設計図は、つくっている最中に変更したのもあり、配布用につくっていないのですが、もし参考にしたい方は"設計図ラフ"をご覧ください。 今見てみると自分でも意味不明なので、設計図を考える際の参考にされる程度がよろしいかと思います。 こういう無垢材の足があると部屋の中が変わるので、もしお時間があれば挑戦してみてください。 ではみなさんも ”勝手にしやがれ” の精神で楽しいDIYライフを。

This leg design was changed during the making process, and it wasn't created for distribution. However, if you'd like to use it as a reference, please check the "rough design diagram." Looking at it now, even I find it unclear, so I think it's best to use it as a reference when considering your own designs. Having legs made from solid wood like this can really change the look of a room.
